A camera for a mouse, your voice for Photoshop: how I built my Jarvis assistant

In the video I move my hand in the air and the cursor follows. I pinch and a file is picked up. I say "Jarvis" and it talks to me. I didn't buy any special device; the MacBook's own camera and microphone are enough. I didn't write a line of code either; Claude Code wrote all of it. The method is simple: you write what you want in plain language, it writes the program, you try it, you say what doesn't work. Each step below has a prompt ready to paste. Go in order. You can stop at step 3 if you like; by then your hand is already a mouse. To make only the cover without setting anything up, go to step 13. This is for your own computers only; installing it on someone else's computer without consent is illegal.
What you'll need
- A Mac with a camera. Mine is a MacBook. I didn't buy a separate camera or sensor.
- A Windows computer as the second machine. Not required: steps 1 to 4 work on a Mac alone.
- Claude Code. This is what writes the program for you. It needs a paid Claude subscription; Pro is $20 billed monthly.
- Tailscale. It connects the two computers over a private line. Free for personal use.
- An OpenAI API key if you want to talk to Jarvis. A conversation costs $0.05 a minute. Not needed for hand gestures and opening apps by voice.
- An Adobe subscription and generative credits for the Photoshop and Illustrator work. Not needed for the hand and voice parts.
Step by step
1. First, understand the idea
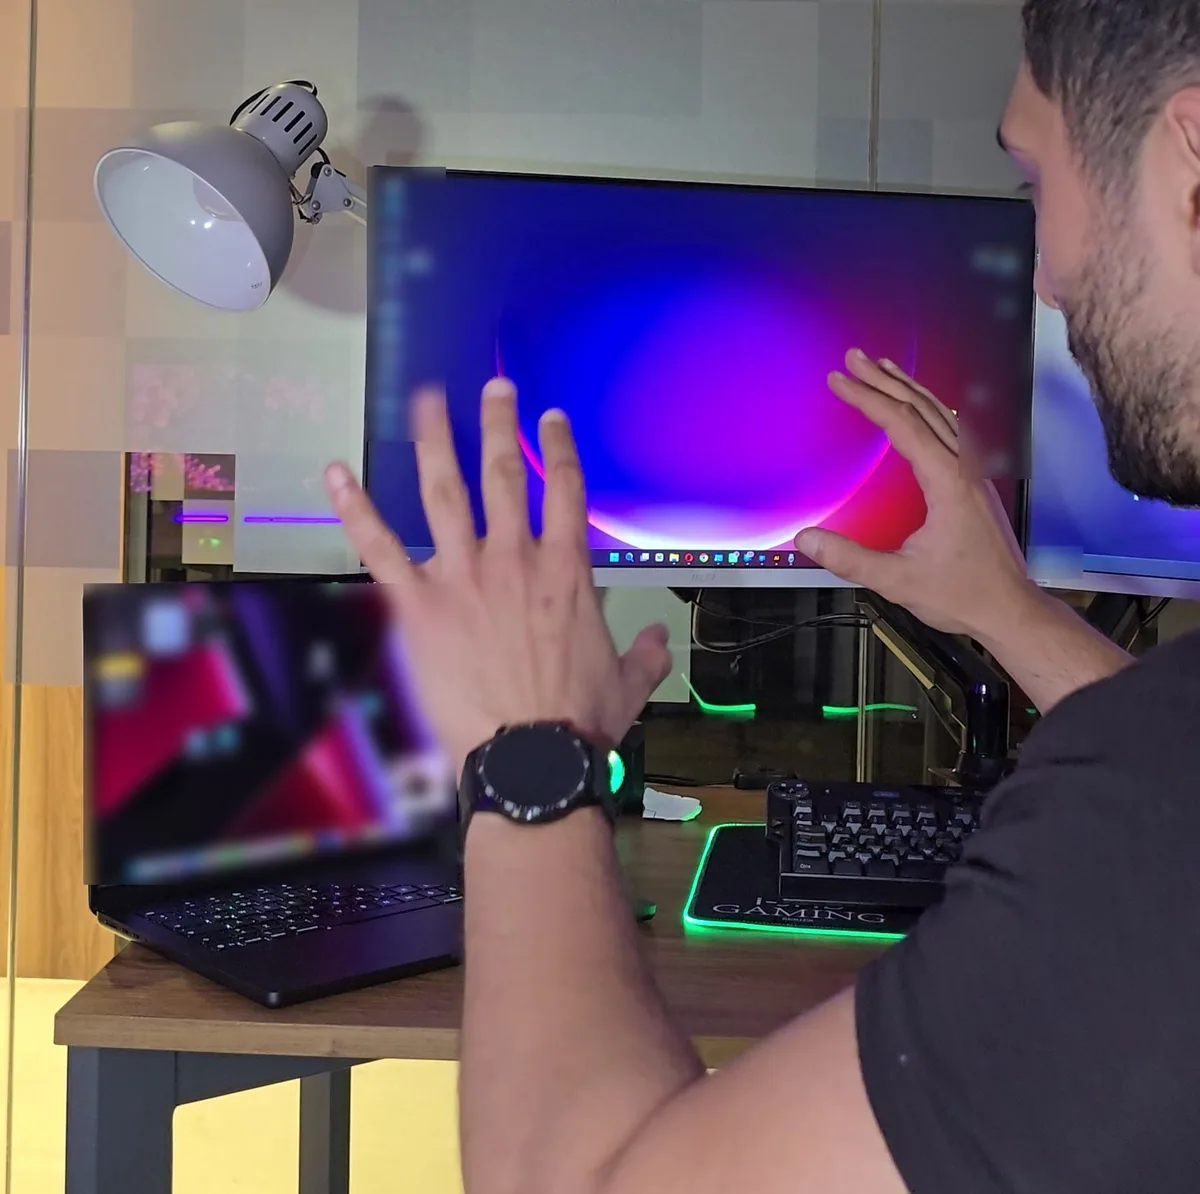
There are two parts. First, your hand: the MacBook camera sees it, and a small program on the Mac turns its movement into a cursor. Push the cursor past the edge of the screen and it moves to the Windows computer. Second, your voice: the Mac understands what you said, works out which computer it is for and gets it done. The brain is on the Mac; the small Windows program only does what it is told. You don't write any of this. Claude Code does.
2. Install Claude Code
Install Claude Code from Claude's website (claude.com/product/claude-code) and sign in with your Claude account. Create an empty folder called ElKopru on your desktop and start Claude Code in it. You will paste the prompts below there, one at a time. Each one has a Copy button. Don't move on until the current one works.
If Claude asks for permission before doing something, read it. If you don't understand it, don't approve yet. Type: "What does this do? Explain it simply."
3. Turn your hand into a mouse
Paste the prompt below. Claude writes the program and opens it. Your Mac will ask for Camera and Accessibility permission; give both. Then show your palm to the camera. In the small window you should see yellow lines on your hand, and the cursor should follow it. Pinch your thumb and index finger together to click. If this is all you want, you can stop here.
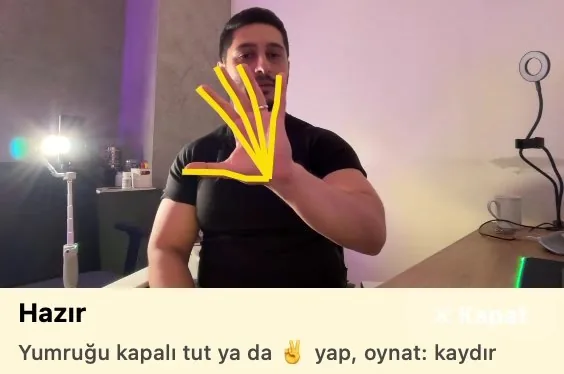
Write a Mac app that tracks my hand with the MacBook camera. Use Swift and Apple Vision hand tracking; don't install outside libraries. When I show my palm to the camera, my hand moves the cursor. Pinching thumb and index finger presses the mouse button and opening releases it, so clicking and drag and drop work. Keep a small always-on-top camera window in the corner of the screen that shows my video, my hand skeleton on top of it, and what is happening right now (Ready, Click, Dragging), plus a Close button. Ask for Camera and Accessibility permission. Keep the code signature stable so permissions survive a rebuild. When finished, build it, open it, and tell me briefly what to try.
4. Make the cursor precise
In the first version the cursor shakes and small buttons are hard to click. Mine did too. When you pinch, your palm moves as well, and the click lands in the wrong place. Paste the prompt, then try clicking a small button. If it still misses, tell Claude where.
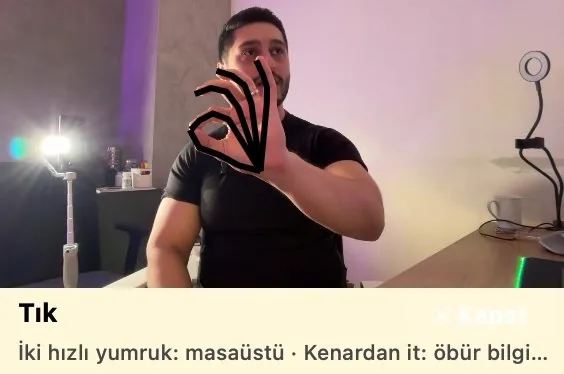
The cursor shakes and slides when I click. Do this: move the cursor relatively, like a trackpad; precise when my hand is slow, far when it is fast. Remove the shake with a One Euro filter. My palm moves while I pinch, so the click lands in the wrong place: use the cursor position from about 0.2 seconds before my fingers started closing as the click point. Add a magnet for small buttons: use the Accessibility API to find a small button near the cursor and land the click at its center. A quick pinch must be a single click; small hand movements must not count as a drag.
5. Connect the two computers
If you will only use a Mac, skip this step and the next two. Install Tailscale (tailscale.com) on both computers and sign in with the same account on both. This is like running a private line between them. Claude then needs a door so it can install a program on Windows. Paste the prompt into Claude on the Mac. It will give you one command to run on Windows. Right-click Start on Windows, open Terminal (Admin) and paste that command.
My Windows user name has a space and a Turkish letter in it, and the first connection failed because of that. If yours does too, tell Claude up front. Only open this door on your own computers.
I want to connect from this Mac to my Windows computer over Tailscale using SSH, so you can install a program on Windows. Give me one command to paste into an admin terminal on Windows. It should install the OpenSSH server, accept connections only from the Tailscale network (100.64.0.0/10), and use a key instead of a password. Before giving me the command, explain in one sentence what it does. After I run it, test the connection yourself. My Windows user name: [YOUR USER NAME]
6. Move the cursor to Windows
Paste the prompt. Claude installs a small program on Windows and puts a shortcut on the desktop. Double-click that shortcut once yourself; its icon appears next to the clock. Then push the cursor a little past the right edge of the Mac screen with your hand. It should appear on the Windows screen, and come back past the left edge.
A windowed program can't be started on Windows over the remote connection, which is why you do the first launch yourself. Thanks to the last sentence of the prompt, later updates won't need the double-click.
Write and install a small Windows program that runs with an icon next to the clock. It must not need any extra installation; Windows' own C# compiler is enough. It should connect to the Mac app over Tailscale and accept only the paired Mac (using a secret key). Pushing a little past the right edge of the Mac screen moves the cursor to Windows; the left edge of Windows brings it back. Pinch must work as click and drag there too. If I have several monitors, it should move across all of them. Put a shortcut on the desktop; I will do the first launch. Later updates must not need a double-click: on a command from the Mac it should switch to the new version and restart itself.
7. Carry a file through the air
This is the request that started it all. Paste the prompt, then pinch a file on the Mac, carry it past the right edge of the screen and open your hand over Windows. A notification should appear on Windows. The file lands in the folder under the cursor, or on the Desktop if there isn't one. The copy on the Mac stays where it is.
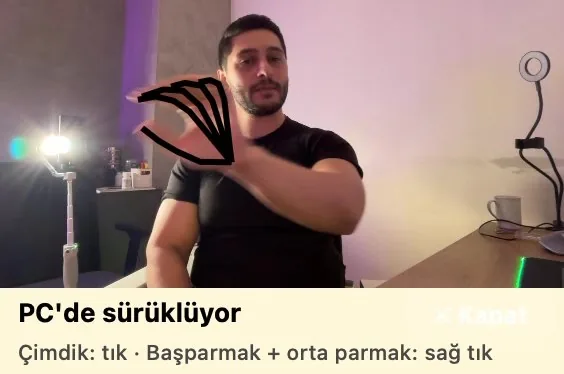
When I pinch a file on the Mac, carry it past the screen edge and open my hand over Windows, copy it there. The file goes to the folder under the cursor, or to the Desktop if there isn't one. If a file with that name exists, don't overwrite it; use a new name. The file on the Mac must not be deleted. Show a notification on Windows when it lands, and show the file's name in the camera window while it travels. Don't give this program any ability to delete files.
8. Add the fist gestures
With no keyboard, every action needs a gesture. Two quick fists take me to the desktop; doing it again brings the windows back. Holding a fist closed and moving my hand scrolls. The key part: don't let it guess the timings, have it measure your own hand. Paste the prompt and make a few fists when Claude asks.
When one gesture's setting was too loose on mine, the virtual desktop switched by accident 4 times in 7 seconds. If a gesture fires by itself, say so right away.
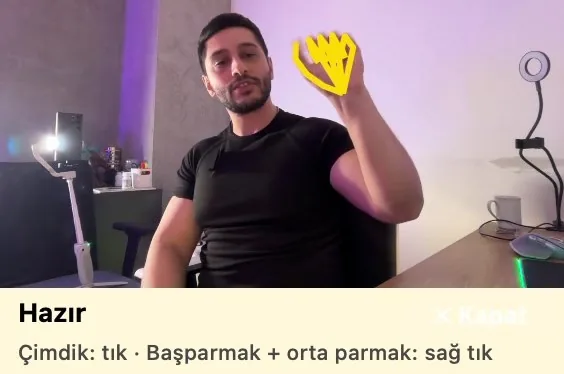
Add these gestures. Two quick fists (close-open, close-open): show the desktop on whichever computer has the cursor; doing it again brings the windows back. Holding a fist closed for more than half a second and moving my hand scrolls. Don't guess the timings: first log every gesture with its duration, I will make ten quick fists, then tune to the real durations in the log. There must be no accidental clicks or desktop switches. Show the detected gesture in the camera window.
9. Open apps with your voice
Paste the prompt. Your Mac will ask for Microphone and Speech Recognition permission; give both. Then say "Open Photoshop on Windows". The Turkish recognizer writes English names the way they sound (Photoshop becomes "fotoşop"), and Claude handles this. This part needs no internet or payment, and your voice doesn't leave the Mac.
My microphone once heard Illustrator as "interatör". If nothing opens, say it more slowly.
Listen to the Mac microphone. Turn speech into text with Apple's on-device recognition; audio must not leave the Mac, and anything that isn't a command must not be logged. When I say "open Illustrator", "open Photoshop on Windows" or "open Chrome on the Mac", open it on that computer; if I don't name a computer, use the one with the cursor. The recognizer may write English names the way they sound in my language: match names by pronunciation, and collect the app lists of both computers yourself. When I say "move Photoshop to the left", move that Windows window to that monitor. Ask for Microphone and Speech Recognition permission.
10. Make Jarvis talk
Now for the voice that answers you. You need an OpenAI API key: create one on the API keys page at platform.openai.com and add some credit to your account. Paste the prompt. Enter the key yourself in the app menu Claude adds, not in the chat. Then say "Jarvis".
A conversation costs $0.05 a minute, billed by the second. That's why the call ends when you go quiet.
Add a voice assistant called Jarvis to the app. When a sentence starts with "Jarvis", open a live conversation with OpenAI's gpt-live-1 model; read OpenAI's current documentation for the connection details. It should call me "[YOUR NAME]". It should speak like the one in Iron Man: calm, short, in English. The most important rule: it must never talk as if it did the work itself. When a task is requested, it hands it to the program and reports the result when it arrives; it must not say "done" before that. End the conversation after 25 seconds of silence, but not while a task is running; one conversation lasts 6 minutes at most. During a conversation Jarvis listens to the microphone; afterwards normal listening returns. Keep my key only on this Mac, never in the code or logs; I will enter it in the menu myself.
11. Give the program eyes
This step is why the cursor moves and clicks buttons in the video with nobody touching anything. The program takes a picture of the Windows screen, reads the text on it and finds the button by its label, just as your eyes would. So it still finds the button if a panel moves. I also asked for the cursor to travel slowly and visibly, otherwise nothing shows on video.
We will have Windows apps do work by voice, so build the groundwork first. Don't find buttons by fixed position: take a screenshot of the Windows screen, read the text on the Mac with Apple Vision, and find each button by its label. The cursor must travel to its target visibly and smoothly. Move the cursor aside before reading so its ring doesn't cover the text. Before typing, check the front window and that focus is in the right box; if not, stop and say so, never type blindly. Delete each screenshot right after reading it, and don't log the text you read.
12. Have Photoshop make a Reels cover
We use the Gemini 3.1 (Nano Banana 2) model inside Photoshop's Generative Fill. Paste the prompt. Then open Photoshop on Windows, drag your photo in and say "I want a Reels cover, the text should be X". The trick: the program selects only the top band, not the whole image. The headline goes there, and your face, outside the selection, isn't touched. It took 42 seconds from start to finish in my test run. Every generation uses Adobe credits.
The first time you choose Gemini, Adobe opens a consent window. Read it and approve it yourself. During my shoot another window popped up twice (a phone notification, Quick Settings) and the program stopped rather than type in the wrong place. Turn notifications off first. If it gets stuck, finish by hand as in the next step.
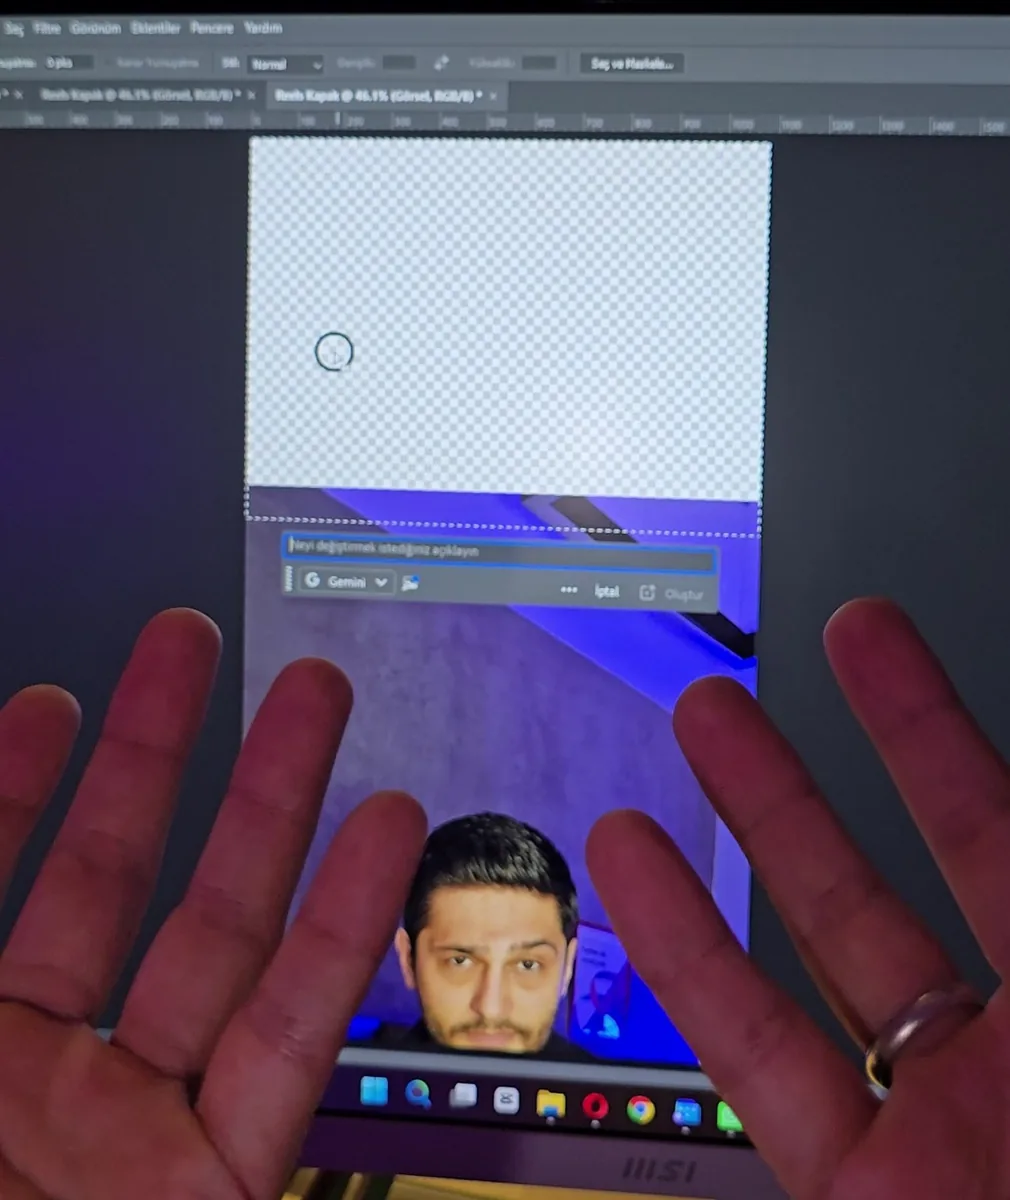
Let's have Photoshop on Windows make a Reels cover. When I say "I want a Reels cover, the text should be X": use a Photoshop script (COM, ExtendScript) to place the open image in a new 1080×1920 document, without touching the source document. Find the face with Apple Vision, position the image so the face stays centered, and select the top band above the head. Open Generative Fill, set the model to Gemini 3.1 (Nano Banana 2), paste the prompt from the clipboard (typing letter by letter triggers Photoshop shortcuts and changes tools) and press Generate. When the new layer arrives, clear the selection, give the layer a short name and say "ready". If I didn't give the text, ask "What should the cover say?". If an Adobe consent window appears, don't approve it for me; tell me. When I say "save", save a .psd and a .png to the Desktop without overwriting existing files.
13. Make the same cover by hand, nothing to install
If you don't want to set up any of the above, this step is enough. Open your photo in Photoshop. Place it in a vertical document. Use the rectangular selection tool to select only the empty top band. In the bar that appears, click Generative Fill, choose Gemini 3.1 (Nano Banana 2) from the model button, paste the text below into the box, replace X with your headline and click Generate. If you want your face unchanged, select only the band. For the cover in the video I selected the whole image, which is why the background changed too. If you select the whole image, your face may be redrawn as well.
Complete the top band of an Instagram Reels cover: continue the scene below seamlessly with the same light and color. Keep the headline in the lower half of the band, leaving a third of the band empty above it, without touching the edges or the bottom boundary. Write this headline in bold, condensed capital letters: "X". Spell it exactly. Make the last line yellow and the others white, with a dark shadow. Add no other text or logo.
14. Have Illustrator make a logo
We use Illustrator's own Text to Vector feature, so the result is a real vector that stays sharp when enlarged. There's a small trick: the feature only opens when an image is selected, so we place an empty white image first. I made the X Coffee logo in the video by typing to Claude Code, not by voice. My voice version currently gets stuck, as explained below. Paste the prompt into Claude Code and change the brand name. The screen shows 40 credits per try.
The result lands outside the artboard. That's why my first PNG came out blank. The last sentence of the prompt is there for this.
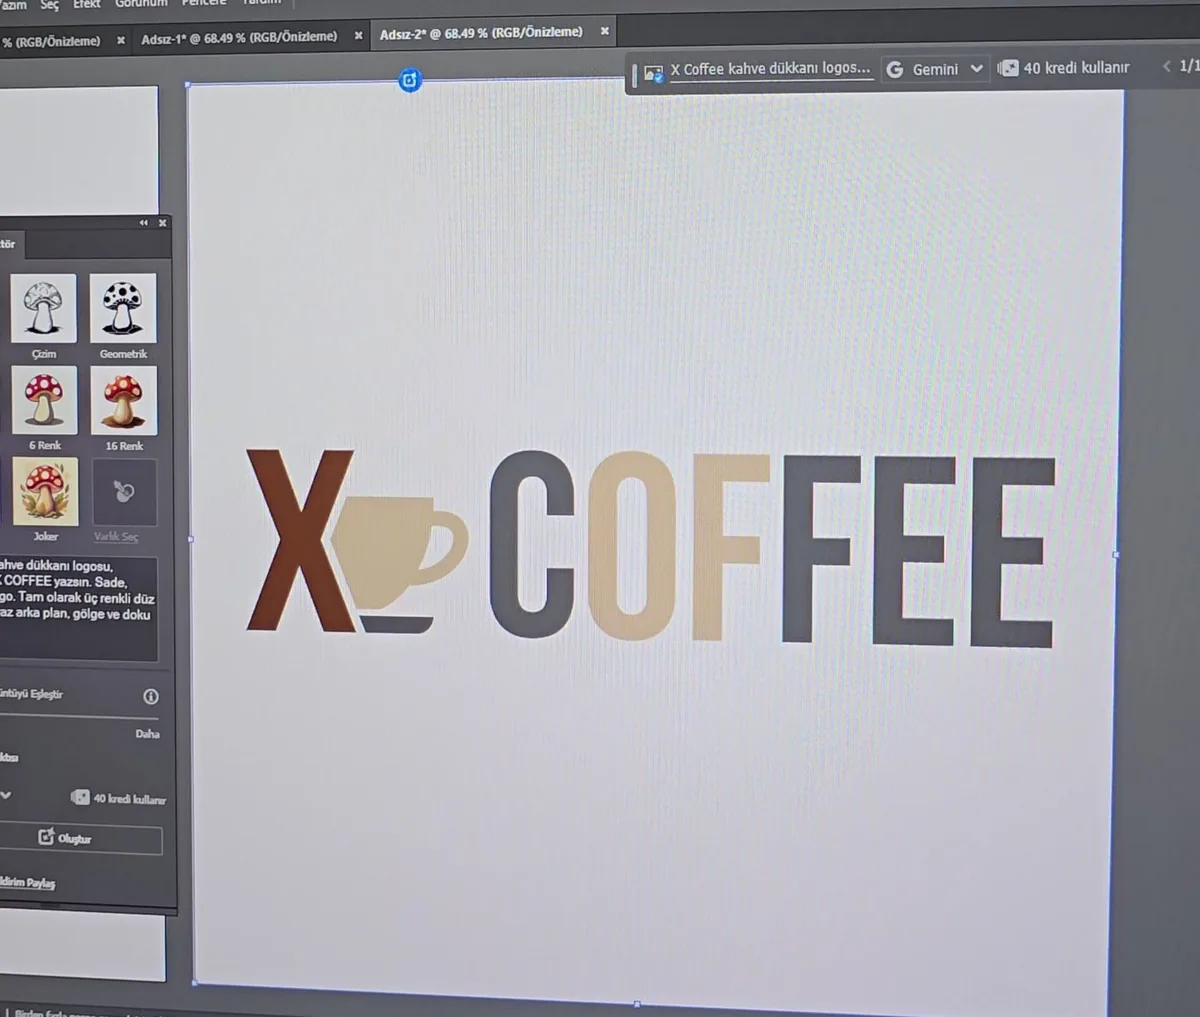
Make a logo for [BRAND NAME] in Illustrator on Windows. Open a new square document, place an empty white image and select it (Text to Vector only opens with an image selected). Click the Text to Vector button in the bar, check that focus is in the prompt box and type: "Logo for [BRAND NAME], with [BRAND NAME] written on it. Simple, modern logo. Exactly three flat vector colors, white background, no shadow or texture." Click Generate. When the result arrives, delete the white image and move the artboard onto the logo, because the result lands outside the artboard and the exported PNG would otherwise be blank. Save an .ai and a .png to the Desktop, and tell me if the PNG is blank.
15. Say what doesn't work
Not everything will work the first time. Mine didn't. This loop is the real work: try, look, say. Don't just write "it doesn't work"; write what you did and what happened. My best method: I started a screen recording, described the errors out loud as I tried things, and gave the recording to Claude. Even if Claude says "done", try it yourself in the real program. My tests passed, and it stopped the moment I tried it in real Illustrator.
This screen recording has errors I describe out loud as I try things: [RECORDING LOCATION]. Transcribe the audio, look at the frames, and list each error with the second you see it. Then fix them one by one. If you couldn't really test a fix, say so plainly.
16. Turning it off and undoing it
On the Mac, click Close in the camera window; the camera and microphone stop. On Windows, right-click the icon next to the clock and click Exit. To cut the link between the two computers, turn Tailscale off. To remove everything, paste the prompt.
Remove this program from both computers. On Windows, remove the program, the shortcut and the SSH access you opened. On the Mac, delete the app and the stored OpenAI key. Don't touch my own files. List what will be deleted before you delete it, get my approval, and tell me what remains at the end.
Tips
- Don't ask for everything at once. Don't move on until a step works; that's how I did it.
- If keystrokes go to another window, write: "Before typing, bring the right window forward and check focus; otherwise stop." On mine, Opera's small video window was taking every keystroke.
- If a gesture fires by itself, write: "This gesture triggers by accident. Check the log for how many times, and tighten the threshold."
- If you can't click a small button, write: "I can't click this button; the cursor slides when I click. Check the log and fix it." Say which button.
- If the PNG comes out blank, write: "The exported PNG is blank. Check whether the result is outside the artboard. Don't accept a blank file."
- If you are filming, first turn off phone and Windows notifications and close small video windows, so nothing pops up on the screen.
- Keep your hand in the frame. If you don't see the yellow lines in the window, the program doesn't see your hand either.
- Don't paste keys or passwords into the chat. Enter them in the program's menu yourself.
Frequently asked
Do I need to know how to code?
No. I didn't write a single line of code; Claude Code wrote it all. Your job is to explain what you want, try it and say what doesn't work. It still isn't effortless: on mine it took 5 days from the first version to this one, with many rounds of fixes.
Will pasting the prompts give me the same result?
Not exactly. I built this over days of conversation. These prompts are a condensed version of those conversations, and I haven't run them again from scratch in this order. Claude may choose a different solution or get stuck somewhere else on your computer. When it does, tell it what doesn't work.
Does everything in the video work flawlessly?
No, it isn't a finished product. Hand gestures, moving files and opening apps by voice are usable day to day on mine. The voice cover flow stops when another window pops up. The voice logo command gets stuck because it can't read Illustrator's menu, and that path is still on my to-fix list. The microphone sometimes mishears too.
How much does it cost?
As I checked on the official pages on October 31, 2026: Claude Code needs a paid Claude subscription; Pro is $20 billed monthly. Tailscale's personal plan is free, for non-commercial use only. Talking to Jarvis costs $0.05 a minute, and any other model you run behind it is billed separately. Photoshop and Illustrator need an Adobe subscription and generative credits. The hand mouse and opening apps by voice need nothing from OpenAI or Adobe. Prices can change, so check before you start.
Do my video and voice go anywhere?
Hand tracking and normal voice commands run inside the Mac. While a Jarvis conversation is open, your voice goes to OpenAI. When you generate in Photoshop or Illustrator, your image and text go to Adobe and the model you chose. The Windows screenshot is taken only to read buttons and is deleted right away. Still, don't run this with something private on the screen.
I only have a Mac, or only Windows. Will it work?
With only a Mac, yes; skip the Windows steps. With only Windows, I haven't tried it: the hand tracking here is an Apple feature, specific to the Mac. If you add "My computer is Windows only; choose a suitable way to track my hand with the camera" to the prompt, Claude will look for another way.
Is this safe?
You are handing control of your computer to a program, so set limits. Use it only on your own devices; installing it on someone else's computer without consent is illegal. Don't give the program the ability to delete files. For anything you can't undo, like sending a message, make it ask for confirmation every time. Before approving a permission you don't understand, ask Claude about it.
Can I download the finished program?
There's no ready download right now. You build it yourself with the prompts, which also means you see what gets installed on your computer.
The video is coming very soon
My YouTube video walking through this guide step by step is coming very soon. I'll add it here once it's out.